
When it comes to designing a kitchen layout, it’s not just about aesthetics. It’s about ensuring you create a space that’s easy to cook, clean, and live in every day. The perfect kitchen layout ensures you have an efficient, comfortable and more enjoyable kitchen to use.
Here at Kitchen Door Hub, we’ve designed this guide to take you through exactly how to create a kitchen layout step by step, from assessing your room to adding the finishing touches. Whether you’re working with a small galley kitchen or planning a family-sized open plan space, these tips will help you find the perfect balance of style and practicality.
Step 1: Measure and Assess Your Space
The first step in designing a kitchen layout is to understand the space you’re working with. Take accurate measurements of your kitchen (more on this soon) and identify any awkward shapes. This gives you the foundation for planning your layout that will make the most of your kitchen.
How to measure your kitchen:
- Use a tape measure to record the length, width and height of your room.
- Note the position of doors, windows, radiators and structural features that can’t be moved.
- Mark where existing plumbing, electrics, and gas points are, so you know where your appliances can go.
Identify your kitchen shape:
Most kitchens fall into one of a few standard layouts:
- Galley kitchens – narrow with units on one or both sides.
- L-shaped kitchens – practical for open-plan spaces.
- U-shaped kitchens – great for maximising storage and worktop space.
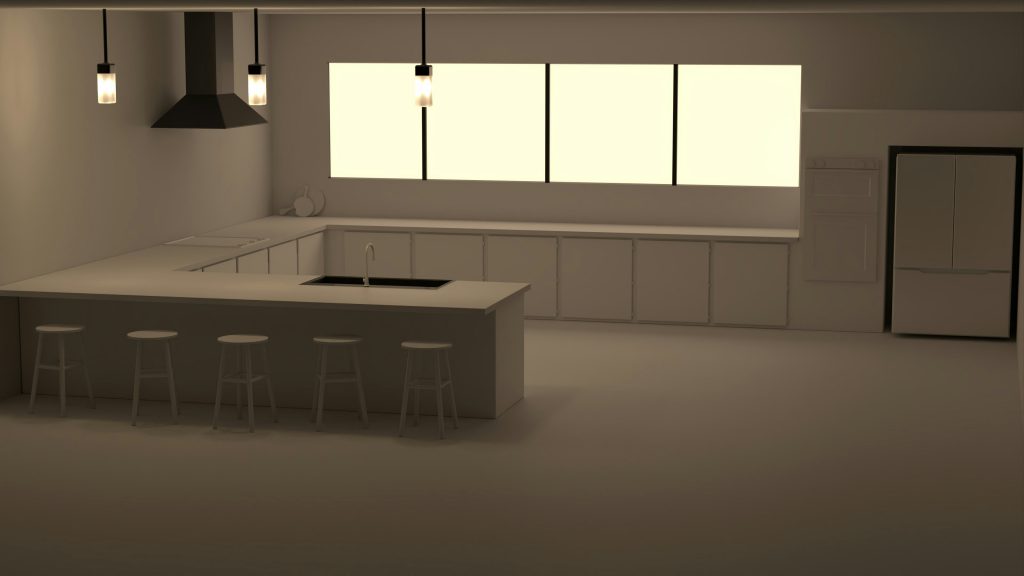
- Island layouts – ideal for families, and if you have a large, open area.
Step 2: Understand the Kitchen Work Triangle
One of the most essential principles in kitchen design is the work triangle. This refers to the three key points in your kitchen: the sink, cooker, and fridge. These should be positioned well so you can move easily between them without obstructions and awkward movements when cooking and using your kitchen.
Why it matters:
- Keeps cooking and cleaning efficiently.
- Reduces unnecessary steps when preparing meals.
- Helps your layout feel natural and practical.
While the traditional kitchen triangle method is still valuable and worth noting when designing your kitchen, many households now have dishwashers, multiple ovens, or larger fridges. If this is the case, instead of a strict triangle, think about creating work zones for cooking, cleaning, food storage, and prep that work together harmoniously.
In compact or galley spaces, the triangle is fundamental and easy to utilise, as keeping the fridge, sink, and cooker close together makes the best use of every inch.
If you have a bigger, open-plan room, the triangle can be stretched out too far and make your cooking experience awkward. Creating clear work zones (such as an island for prep and cooking, with storage along the wall) helps maintain efficiency.
Step 3: Choose the Right Layout Style
Once you’ve measured your space and thought about the work triangle or zoning in your kitchen, it’s time to decide which kitchen layout style works best for your home and family.
Common kitchen layouts:
- Galley kitchen – units on one or both sides of a narrow room; space-saving and efficient, ideal for couples or single person living.
- L-shaped kitchen – fits nicely into corners and open-plan spaces.
- U-shaped kitchen – maximises worktop and storage; great for busy households.
- Kitchen with an island – adds extra prep space and storage in larger rooms and makes for a great place to gather with loved ones.
Step 4: Plan Storage and Workflow
A practical kitchen layout isn’t just about the best appliances; it’s about ensuring your storage and use are useful, keeping your kitchen organised, and your workflow smooth.
When it comes to storage, create zones for cooking, prep, cleaning, and storage and group items together according to their use and how frequently you reach for them. Ensure you make use of vertical space. Many people forget to look up when planning their kitchen and plan as much as they can on the ground. However, wall cabinets and tall units maximise storage without crowding the floor, giving you more space to work with and a less stressful experience.
Some other things to consider are: pull-out cabinets and bins, allowing you to make the most out of deep cupboards and corner spaces.
Step 5: Positioning
Once you’ve planned storage, it’s time to think about where your appliances and utilities will go. Proper placement keeps your kitchen efficient and safe.
Tips for positioning:
- Cooking appliances: Place ovens at a comfortable height and keep the hob near prep areas. It’s also worth considering having your microwave well placed near your oven.
- Sink & dishwasher: keep the dishwasher next to the sink for easy loading and rinsing.
- Fridge & freezer: remember the triangle and keep these accessible from the primary cooking and prep zones.
- Utilities: plan for power sockets, plumbing, and ventilation before finalising the layout.
Step 6: It’s all in the details
Once all the technicalities are out of the way, it’s time to focus on the best part, the style and finishing touches for your kitchen.
Kitchen Hub’s Design Tips:
- Door styles and handles: choose kitchen units and kitchen door handles that suit your home and style, whether they be shaker or handleless.
- Colours and finishes: coordinate cabinets, worktops, and walls for a cohesive look or opt for daring pops of colour for something fun.
- Internal storage solutions: consider pull-out cabinets, bins, and organisers to keep everything tidy.
- Lighting: add task lighting for prep areas and ambient lighting for overall mood and feeling in your space.
Designing a kitchen layout doesn’t have to be complicated. Remember, the best layout fits your lifestyle; whether you’re cooking for one, a family, or entertaining friends. Explore our range of kitchen furniture here at Kitchen Door Hub to find affordable, stylish doors and units that help you transform your kitchen layout easily. Contact us with any questions; we’re glad to hear from you.